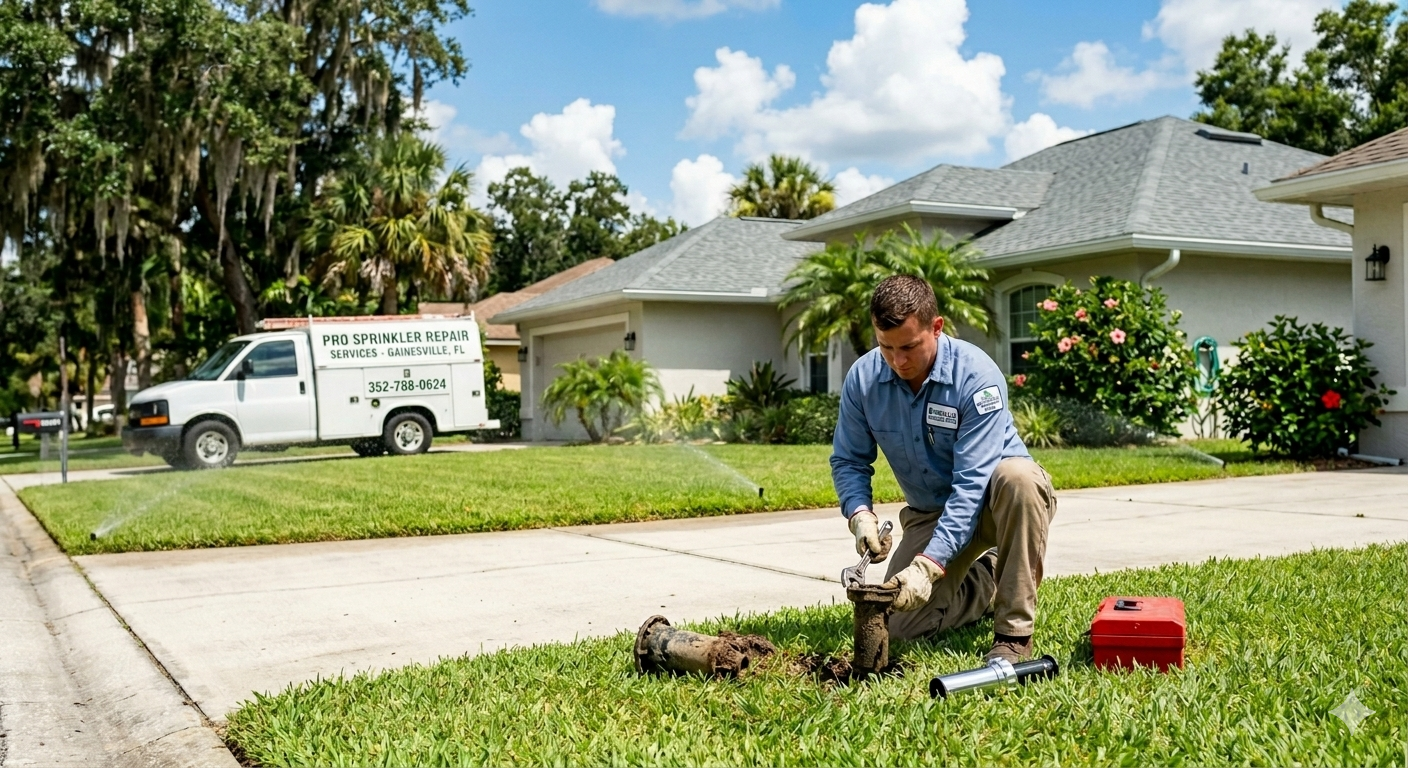
Many homeowners in the United States love to have a green lawn. But, when unexpected puddles show up or some spots are very dry, it’s often the sprinkler system’s fault. Knowing how these parts work is key to keeping your lawn healthy all year.
If a part of the system breaks, it can waste water or kill parts of your lawn. Problems like zones stuck on or not working when the timer goes off are common. Spotting these issues early can save you money and time on fixes later.
The main control unit is like a water manager for your lawn. This guide will cover the main signs that a valve is failing. By following these tips, you can avoid harming your landscape.
Being proactive can help your yard look great without any problems. Let’s look at what to watch for this season to keep your irrigation system working well.
Key Takeaways
- Identify flooding or persistent wet spots in specific yard zones.
- Monitor for zones that fail to activate during scheduled watering cycles.
- Watch for low water pressure that prevents heads from popping up.
- Listen for strange buzzing sounds or visible leaks near the control box.
- Track sudden, unexplained increases in monthly water utility bills.
- Check for physical wear or mineral buildup on the internal components.
Understanding How Sprinkler Valves Work
To fix your sprinkler system, knowing how valves work is key. Sprinkler valves control water flow to your lawn or garden. They act like gatekeepers for your irrigation system.
The Role of Valves in Your Irrigation System
Sprinkler valves direct water to specific spots. They get their signals from an irrigation controller. This controller sends electricity to open or close the valves.
Working right, these valves make sure plants get the right water. This cuts down on waste and stops overwatering.
Main Components: Solenoid, Diaphragm, and Body
A sprinkler valve has three main parts: the solenoid, diaphragm, and body.
- The solenoid turns electrical energy into mechanical energy to move the valve.
- The diaphragm is a flexible part that opens or closes the valve, controlling water flow.
- The body holds these parts together. It’s made of strong materials like plastic or metal.
| Component | Function |
|---|---|
| Solenoid | Converts electrical signals to mechanical energy to operate the valve. |
| Diaphragm | Moves to open or close the valve, controlling water flow. |
| Body | Houses the solenoid and diaphragm, providing structural integrity. |
Normal vs. Abnormal Valve Behavior
Knowing how a valve should work helps spot problems. A valve opens with an electrical signal from the controller. It closes when the signal stops.
But, if a valve acts up, like not opening or closing, or leaks, it’s a sign of trouble. Catching these issues early can prevent bigger problems like water waste or damage to your landscape.
Zones Stuck Running: When Valves Won’t Close
When sprinkler zones won’t stop running, it’s often because of a valve problem. This not only wastes water but can also increase your utility bills. It might even harm your lawn.
Debris Preventing Complete Valve Closure
Debris like dirt or sand can stop valves from closing. This makes water keep flowing. Regular cleaning can help avoid this.
To find out if debris is the problem, check the valve for blockages. Cleaning the valve means taking it apart, checking for debris, and washing it out. Make sure to turn off the water first to avoid accidents.
Diaphragm Damage Causing Continuous Flow
The diaphragm is key in a sprinkler valve, controlling water flow. Damage to it can keep the valve open. It’s important to check the diaphragm for damage.
“A faulty diaphragm can be a silent culprit behind a continuously running sprinkler zone. Regular inspections can help identify and rectify the issue before it causes significant water waste.”
To fix a damaged diaphragm, get a new one that fits your valve. Then, follow the maker’s guide to replace it.
Emergency Shutdown Procedures
If a zone won’t stop running and you can’t fix the valve right away, have a plan. First, find and turn off the main shut-off valve for your irrigation system.
| Step | Description |
|---|---|
| 1 | Locate the main shut-off valve for your irrigation system. |
| 2 | Turn the valve clockwise to shut off the water supply. |
| 3 | Inspect the system to identify the faulty zone or valve. |
| 4 | Proceed with the necessary repairs or call a professional. |
By following these steps, you can stop wasting water and protect your irrigation system.
Zones That Refuse to Activate
When sprinkler zones won’t turn on, it’s a big problem. It can cause uneven watering, which might harm your lawn or garden.
Solenoid Electrical Failures
Solenoid electrical failures are a common problem with sprinkler valves. The solenoid controls the valve’s operation. If it fails, the valve won’t open, and the zone won’t activate.
- Symptoms: No water flow when the zone is supposed to be on.
- Causes: Electrical issues, worn-out solenoids, or faulty wiring.
- Solution: Check the solenoid’s electrical connection and consider replacing it if necessary.
Manual Valve Bleed Screw Issues
The manual bleed screw helps drain water from the valve. If it’s not closed right or is damaged, the valve won’t work.
Common problems include:
- Loose or damaged bleed screw.
- Debris clogging the bleed screw.
Make sure the bleed screw is tight and clean to fix activation issues.
Internal Blockages Preventing Valve Opening
Blockages inside the valve can stop it from opening. Dirt, debris, or mineral buildup can clog the valve’s inner parts.
- Signs: Valve doesn’t open even when the solenoid is working.
- Fix: Take apart the valve to clean out any debris or mineral deposits.
By fixing these common problems, homeowners can usually get their sprinkler zones working again.
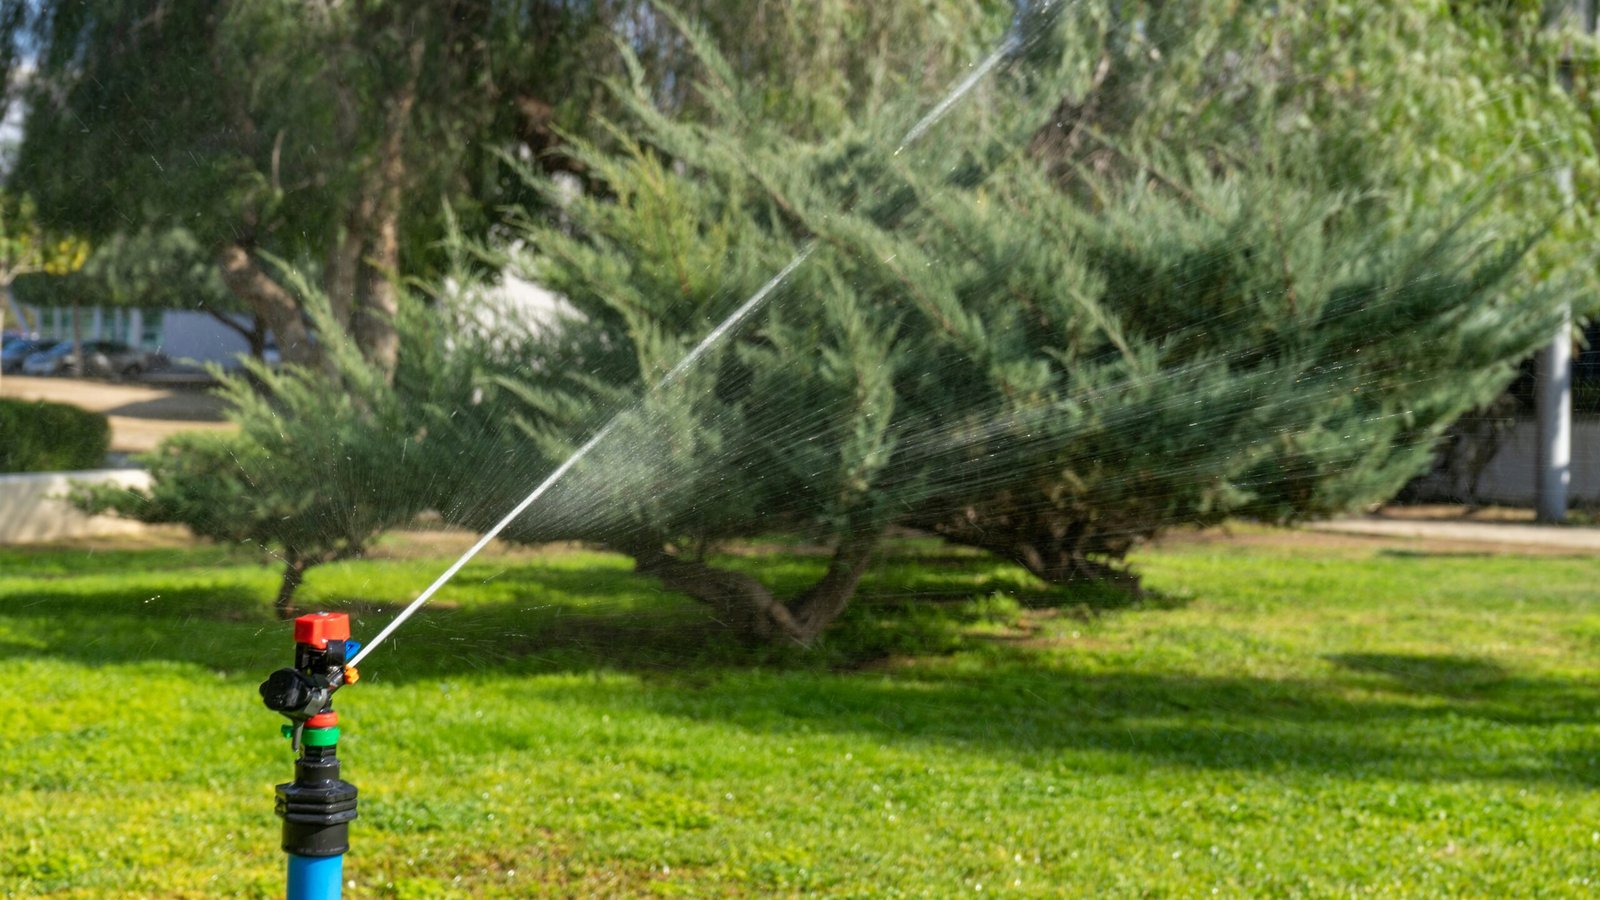
Reduced Water Pressure in Individual Zones
Reduced water pressure in sprinkler zones is a common problem. It can make watering uneven, with some spots getting too much water and others too little.
There are several reasons for this issue. Knowing these causes helps with fixing the problem.
Partially Clogged Valve Mechanisms
A clogged valve mechanism can lower water pressure. Debris and dirt can block the flow. Regular maintenance helps avoid this.
- Look for blockages or debris in the valve.
- Clean the valve to remove sediment or dirt.
- Think about using filters to prevent future clogs.
Flow Control Adjustment Problems
Flow control issues can also cause low water pressure. If the flow control is off, it can limit water flow. Adjusting the flow control might fix it, but be careful not to overdo it.
- Check the current flow control settings.
- Adjust them as the manufacturer suggests.
- Watch how the system works after adjusting.
Identifying Pressure Loss Locations
To fix low water pressure, find where it’s happening. Check the whole irrigation system, from valves to sprinkler heads.
Experts say, “Finding where the pressure loss is is key to fixing it. It might take looking closely and doing tests.”
“The key to solving water pressure problems is knowing the system’s layout and finding where it’s blocked.”
By following these steps and understanding the causes, homeowners can detect sprinkler valve failure. They can then fix their irrigation system’s efficiency.
Water Leaking From Valve Boxes
Water leaking from valve boxes is more than just a hassle. It often points to a bigger problem with your irrigation system. Seeing water gather around your valve boxes means something’s wrong. This not only wastes water but can also raise your water bills and harm your lawn or landscaping.
Knowing why these leaks happen is key to fixing them right. Leaks can come from problems with the valve itself or its connections.
Cracked Valve Bodies and Fittings
Cracks in valve bodies or fittings are a common leak cause. Over time, the materials can wear down from the weather, soil pressure, or other factors. Cracks let water leak out. Checking the valve body and fittings for cracks or damage is a first step to find the problem.
Failed Seals and Gaskets
Failed seals or gaskets are another common leak source. These parts are vital for keeping the valve and its connections tight. When they fail, water leaks out. Keeping an eye on these parts and doing regular maintenance can stop failures.
As
“Regular maintenance is key to extending the life of your sprinkler system and preventing issues like leaking valve boxes.”
This approach helps spot problems early, before they get big.
Loose Connection Points
Loose connections are another leak cause. If connections between the valve and pipes or fittings aren’t tight, water leaks. Checking and tightening these connections can fix the problem. But if the threads are damaged, you might need to replace parts.
To fix leaks from valve boxes, you need to find the main cause. Knowing if it’s from cracks, failed seals, or loose connections helps you fix or replace the right parts.
Top Signs Your Sprinkler Valve Is Failing
Knowing the signs of a failing sprinkler valve is key to a good irrigation system. A bad valve can waste water, raise your bills, and harm your lawn or garden. Spotting these signs early helps avoid bigger, more expensive fixes later.
Inconsistent Zone Activation Patterns
One big sign of trouble is when your irrigation zones don’t turn on or off right. This could mean your valve is not working well. Problems like electrical issues, clogs, or wear can cause this.
Common issues include:
- Zones not turning on when they should
- Zones staying on too long
- Zones turning on and off randomly
Chattering or Hammering Noises
Strange sounds like chattering or hammering from your sprinklers might mean valve trouble. These sounds usually come from bad water pressure or a faulty solenoid. The solenoid helps the valve open and close right; when it fails, it can make these noises.
To find the problem: Look for damage or wear on the solenoid and valve. Make sure the water pressure is right for your system.
Visible Corrosion and Component Degradation
Seeing corrosion or wear on your valve or parts is a clear warning sign. Water and the weather can break down the valve over time. This can make the valve weak and cause leaks or problems with how it works.
Check your valves often for corrosion, rust, or mineral buildup. Fixing these problems early can stop bigger issues.
Zones Running Simultaneously When They Shouldn’t
If zones turn on together when they shouldn’t, it’s a big problem. This can waste water and harm your lawn. It might be due to a bad control system, wiring issues, or a stuck-open valve.
To solve this, check the control system, wiring, and each valve to find the problem.
Solenoid Malfunctions and Warning Signs
It’s important to know about solenoid malfunctions to keep your sprinkler system working well. Solenoids control water flow through valves. If they fail, you might see zones not working or staying open.
No Clicking Sound During Activation
A clicking sound means the solenoid is working right. If you don’t hear it, it could be a solenoid problem. Listen for the click when you turn on a zone. No sound might mean a solenoid or electrical issue.
Testing Solenoid Resistance With a Multimeter
Use a multimeter to check if a solenoid is okay. A good solenoid has 20 to 50 ohms resistance. Disconnect wires, attach the multimeter, and read it. If it’s off, the solenoid might need fixing.
Burned Out Coils and Wire Damage
Coils or wires that are damaged can also cause problems. Look for any damage or burn marks on the coils. Also, check the wires for cuts or corrosion. Fixing these can solve the issue.
| Issue | Symptoms | Diagnostic Steps |
|---|---|---|
| Solenoid Not Activating | No clicking sound | Check electrical connections, test solenoid resistance |
| Burned Out Coil | Visible damage, no activation | Inspect coil visually, replace if necessary |
| Wire Damage | Intermittent operation, no activation | Inspect wiring for damage, repair or replace |
Regular checks on solenoids are key to sprinkler valve maintenance tips. Knowing the signs of solenoid problems helps keep your system efficient.
“Regular maintenance is key to a long-lasting sprinkler system and good performance.”
Diaphragm Deterioration Symptoms
Over time, the diaphragm in a sprinkler valve can deteriorate. This can happen due to age and exposure to chemicals in the water.
Age-Related Rubber Breakdown
Age is a big reason for diaphragm deterioration. As rubber ages, it becomes brittle and loses its flexibility. This can cause cracks and tears.
Signs of age-related breakdown include:
- Cracks on the surface of the diaphragm
- Tears or holes in the diaphragm material
- Loss of flexibility, making it hard or brittle
Chemical Damage From Water Quality
Poor water quality can also damage the diaphragm. Certain chemicals in the water can make the rubber degrade faster.
Common chemicals that can cause damage include:
- High levels of chlorine or other disinfectants
- Certain agricultural chemicals or fertilizers
- Industrial contaminants
| Chemical | Effect on Diaphragm |
|---|---|
| Chlorine | Cracking and brittleness |
| Agricultural chemicals | Softening and degradation |
| Industrial contaminants | Corrosion and material failure |
Visual Inspection Techniques
Regular visual inspections are key to spotting diaphragm deterioration early. By checking the diaphragm often, you can catch wear and tear before it gets worse.
Steps for a visual inspection:
- Turn off the water supply to the sprinkler system.
- Disassemble the valve to access the diaphragm.
- Inspect the diaphragm for signs of damage, such as cracks, tears, or mineral buildup.
- Check the diaphragm’s flexibility by gently bending it.
Diagnosing the Root Cause of Valve Problems
Fixing sprinkler valve issues needs a careful plan to find the main problem. Knowing the exact cause is key for fixing it right and keeping your irrigation system working well.
Isolating the Problem: Controller, Wiring, or Valve
The first step is to figure out if the problem is with the controller, wiring, or the valve. Check the controller’s settings to make sure they’re right. Then, look at the wiring for any damage or wear. Lastly, check the valve for any visible problems like debris or corrosion.
- Check the controller’s settings and programming.
- Inspect the wiring for damage or wear.
- Examine the valve for visible issues.
Manual Valve Operation Test
A manual test can show if the valve’s mechanical parts are the problem. Find the manual bleed screw on the valve and turn it counterclockwise to open it manually. If it works fine by hand but not automatically, the problem might be with the solenoid or wiring.
Steps for Manual Valve Operation Test:
- Locate the manual bleed screw.
- Turn the screw counterclockwise to open the valve.
- Observe the valve’s operation.
Essential Diagnostic Tools and Equipment
Using the right tools is key for fixing sprinkler valve problems. You’ll need a multimeter for electrical checks, a pressure gauge for water pressure, and a manual valve test kit.
- Multimeter for electrical continuity checks.
- Pressure gauge for measuring water pressure.
- Manual valve operation test kit.
Creating a Systematic Testing Plan
Creating a detailed testing plan helps find the problem step by step. Start with the controller and wiring, then check the valve and its parts. Keeping track of your findings helps you see patterns and progress.
Tips for a Systematic Testing Plan:
- Start with the controller and wiring.
- Test the valve and its components.
- Document your findings.
Effective Repair Solutions for Common Valve Issues
Fixing sprinkler valves starts with finding the right solution. These valves are key for watering your lawn or garden right. If they don’t work, you might waste water, get uneven watering, and pay more for utilities.
Knowing the usual problems and fixes helps keep your irrigation system running well. We’ll look at the most common issues and how to fix them.
Cleaning and Flushing Clogged Valves
Clogged valves are a big problem. Cleaning and flushing can often fix it. First, turn off the water supply to the valve. Then, take it apart to get to the clog.
Use a soft brush or cloth to clean out debris. For tough clogs, soak the parts in water and vinegar. This helps break down mineral buildup.
“Regular maintenance, including cleaning and flushing, can significantly extend the life of your sprinkler valves.” – Irrigation Expert
Replacing Diaphragms and Seals
Diaphragms and seals wear out over time. Leaks or valve problems might mean it’s time for a new one. Start by getting the right replacement parts for your valve model.
Take the valve apart carefully. Remove the old diaphragm or seal and put in the new one. Make sure it fits right.
| Part | Signs of Wear | Replacement Frequency |
|---|---|---|
| Diaphragm | Leaks, irregular valve operation | Every 3-5 years |
| Seals | Water leakage around the valve | Every 2-3 years |
Solenoid Replacement Procedures
A bad solenoid stops your valve from working right. Replacing it is easy. First, make sure the water supply is off.
Disconnect the solenoid from the valve and wiring. Clean it up. Put in the new solenoid, reconnect the wiring, and test the valve.
When Complete Valve Replacement Is Necessary
At times, a valve can’t be fixed, like if it’s old or damaged. Signs it needs replacing include persistent leaks, corrosion, or not working even after repairs.
When picking a new valve, think about if it fits your system, water pressure, and flow needs.
Preventive Maintenance to Extend Valve Life
Keeping your sprinkler valves working well is easier with regular care. Knowing when to check and fix things can stop valves from breaking down.
Spring and Fall System Checkups
Seasonal checks are key for your sprinkler system’s health. In spring, look for winter damage on your valves. Check for dirt, rust, or wear on parts that move.
In fall, get your system ready for cold by draining valves and pipes. This stops ice damage.
Spring tasks include:
- Inspecting valve bodies and solenoids for damage or corrosion
- Testing valve operation to ensure proper opening and closing
- Checking for leaks around valve connections
Fall tasks should be:
- Draining valves and pipes to prevent freezing
- Insulating exposed valves and pipes
- Testing the system’s overall performance after winterization
Proper Winterization Techniques
Winterizing your sprinkler system is vital. It means draining water from valves and pipes to avoid ice damage.
Drain the system: Use compressed air to clear water from pipes and valves. This stops water from freezing inside.
Insulate exposed components: Use insulation on valves and pipes outside to protect them from cold.
Installing Filters to Reduce Debris
Debris can harm your sprinkler valves. Filters help keep your system clean by catching dirt and debris.
Filter installation tips:
- Choose filters that fit your system’s water quality and flow rate.
- Put filters at the main water supply line to catch debris early.
- Check and clean or replace filters regularly.
Recommended Maintenance Schedule
Regular maintenance is key for your sprinkler valves. Do monthly checks during the active season and deeper inspections in spring and fall.
| Maintenance Task | Frequency |
|---|---|
| Inspect valves for damage or wear | Monthly |
| Test valve operation | Monthly |
| Clean or replace filters | Every 3-6 months |
| Winterize the system | Annually (Fall) |
Conclusion
A well-working sprinkler system is key to a lush, green lawn. Sprinkler valves control water flow to different areas. Spotting valve failure early can save water and keep your lawn moist.
Knowing common valve problems helps you fix them fast. Issues like stuck zones, low water pressure, and leaks can be fixed. Regular checks and maintenance can make your system last longer.
With the tips from this article, you can keep your system efficient. This saves water and makes your lawn look great. Good maintenance also avoids expensive repairs later on.
FAQ
What are the Top Signs Your Sprinkler Valve Is Failing?
Look out for zones that won’t turn off and leaking water around the valve box. Also, low water pressure in certain areas of your lawn is a sign. You might see dead patches of grass where a zone failed to activate. A loud buzzing or clicking sound when starting the cycle is another indicator. These symptoms often point to a worn-out internal diaphragm or a faulty solenoid, even with high-quality components like Hunter or Rain Bird.
What are the most Common sprinkler valve problems I should look for?
Homeowners often face debris clogs, solenoid failure, and diaphragm tears. Debris like sand can get trapped inside the valve body. Electrical shorts in the wiring or a burnt-out coil in the Orbit or Irritrol solenoid can also prevent the valve from opening.
How can I tell if I have Symptoms of bad sprinkler valve versus a controller issue?
Perform a manual bleed test to determine the source. Most valves have a small screw or lever for manual opening. If the valve opens and the sprinklers run, the issue is likely electrical. If it doesn’t open, the problem is mechanical, like a blocked port or damaged internal components.
What are the primary Signs of faulty sprinkler valves when a zone stays on indefinitely?
A zone that won’t shut off usually has a mechanical failure. This can be due to a diaphragm tear or mineral deposits holding it open. The valve can’t close due to a lack of pressure differential. This is a critical issue that requires Repairing sprinkler valve issues immediately to avoid water waste and flooding.
Are there specific Sprinkler valve maintenance tips to prevent failure?
Yes! To keep your Rain Bird or Hunter system running well, flush the system every spring. Installing a central filter can also help reduce debris. Proper winterization is key; use a compressed air blowout to prevent freezing and cracking during cold months.
What is the best approach for Troubleshooting sprinkler valve problems involving low pressure?
For low pressure in one zone, first check the flow control handle on the valve. If it’s fine, you might have a partially clogged valve or a leak in the valve box. Inspecting the internal diaphragm for tears or buildup is a standard step in How to detect sprinkler valve failure related to pressure loss.
When should I consider Repairing sprinkler valve issues instead of replacing the whole unit?
If the valve body is not cracked, you can repair it by replacing the “guts.” Many manufacturers like Orbit sell valve rebuild kits with new solenoids, diaphragms, and springs. This is often easier than installing a new valve, even in tight spaces.
How to detect sprinkler valve failure using a multimeter?
Use a multimeter to test the ohms (resistance) of the solenoid if your valve isn’t activating. A healthy Hunter or Rain Bird solenoid reads between 20 and 60 ohms. If it’s zero or too high, the solenoid is bad and needs replacing. This is a precise way to troubleshoot Troubleshooting sprinkler valve problems related to electrical issues.

0 Comments